
How to Create a Slideshow on TikTok (Manually or Using Templates)
While everyone knows TikTok for its entertaining short videos, they must know its many other features, such as Slideshows. TikTok’s Slideshow feature allows you to easily display your photos as a slideshow with music, captions, and emojis to your followers.
With this super attractive feature of TikTok, you no longer need to involve yourself in making videos. This article will teach you two ways to create a TikTok Slideshow.
There are different ways to create and publish a slideshow on TikTok. You can use pre-made templates or manually create the Slideshow you want. If you are in a hurry, it is better to use pre-made templates. Otherwise, you can manually create the Slideshow you want, allowing you to customize and create more creative slideshows.

How to make a slideshow in TikTok manually
With this method, you can determine whether the Slideshow will be made in video format or as swipeable slides. The swipeable slide mode can only be used for photos. In this mode, photos are displayed as separate slides with music, text, stickers, or emojis, and the user can swipe between photos.
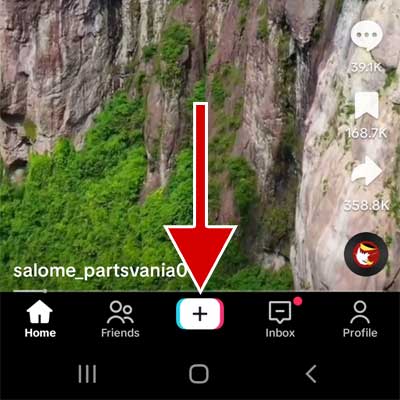
1. Open the Tiktok application and then tap + on the bottom bar of the application.
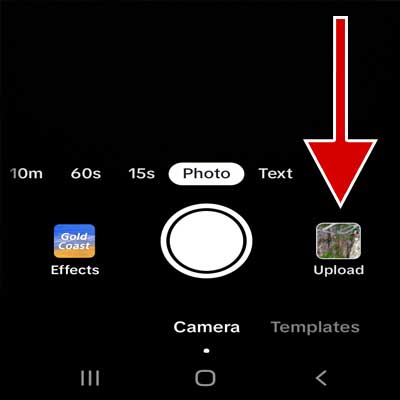
2. Tap on the Upload option.
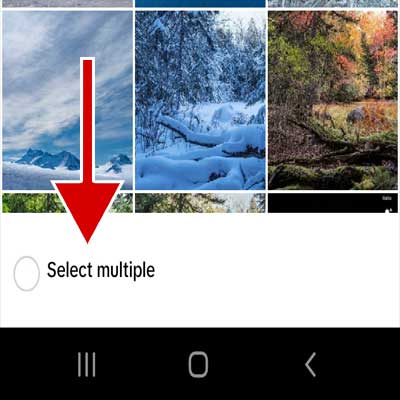
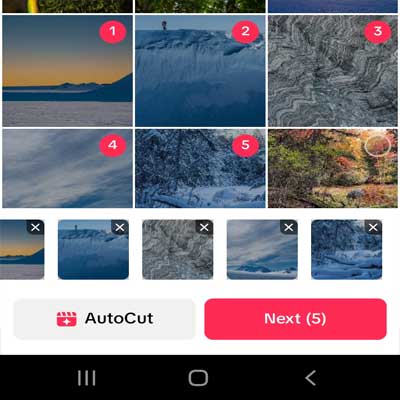
3. Tap the “Select Multiple” option and select the photos you want. Tap the “Next” button.
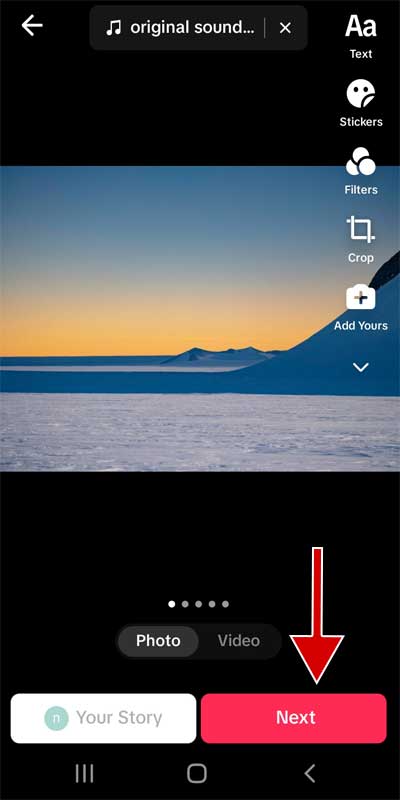
4. At the bottom of the screen, select Slideshow display mode. If you select “Photo”, all your photos will be displayed as swipeable slides. If you select “Video”, TikTok will make a video of your chosen images and publish it as a video.
5. Make your desired changes by choosing music and adding text, stickers or emojis.
6. Tap on the Next option.
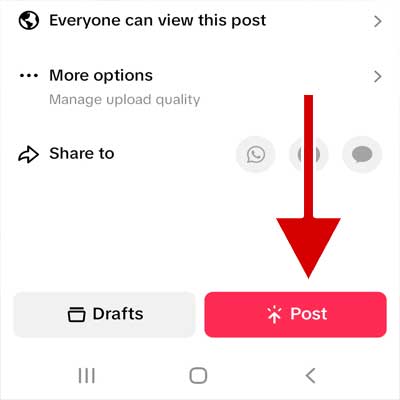
7. Add description and title as well as hashtag for Slideshow.
8. Tap on the Post option. After a short time, your Slideshow will be published.
How to make a Slideshow in TikTok using Templates
TikTok has a large number of pre-made templates for creating slideshows. You can browse the templates and choose the template you want. To make a slideshow in TikTok with the help of templates, do the following steps:
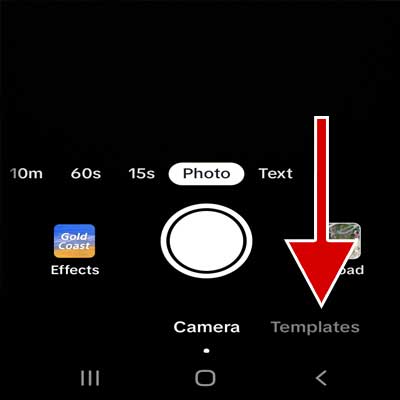
1. Open the Tiktok application and then tap + on the bottom bar of the application.

2. Tap on the Templates option.
3. Swipe through the templates, find the one you like, and then tap the Upload Photos option.
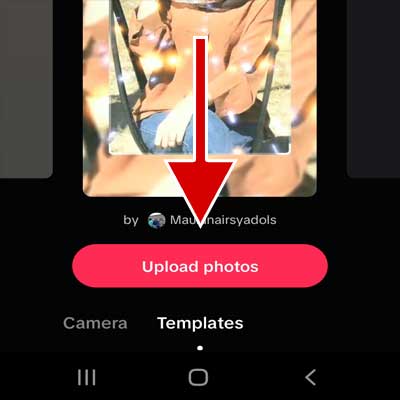
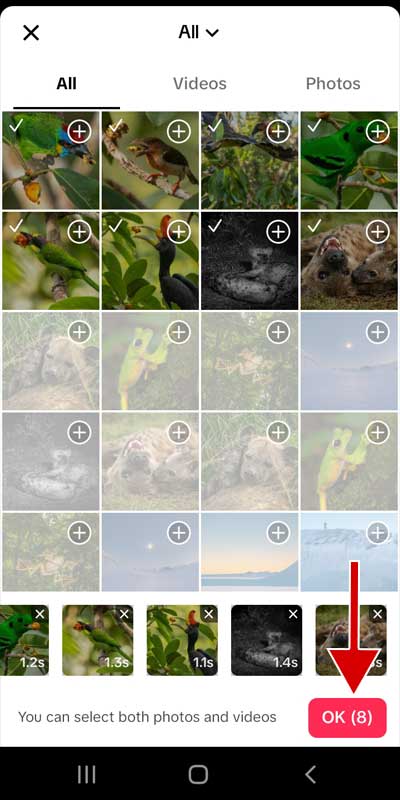
4. Select your photos or videos and then tap OK.
5. Add your favourite music, text, sticker or emoji.
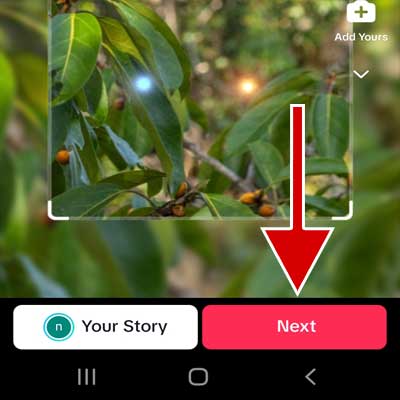
6. Tap on the “Next”.
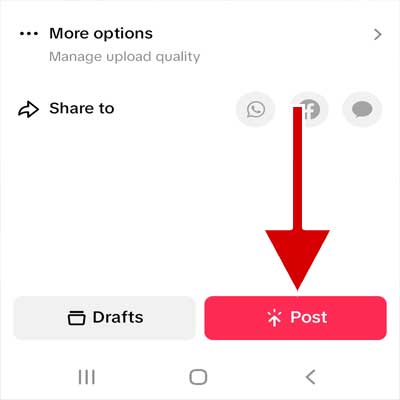
7. Enter the description, title and hashtags.
Tap on the Post option. After a short time, your Slideshow will be published.
Advantages of TikTok Slideshows
Save time
Imagine that you have just returned from a trip and want to share your memorable moments with friends. The first idea is to make videos using applications. But this is very time-consuming and wastes our time.
With TikTok Slideshows, you can quickly and easily create a slideshow of your photos. You don’t need to spend time making a video of your memorable moments. With just a few simple clicks, you can easily create an attractive slideshow of your photos.
Increasing the attractiveness and variety of content
By using slideshows, you can add more variety to the content on your TikTok page, which will attract your followers’ attention and make your page attractive. Slideshows also allow you to use different types of visual content, such as images, videos, music, GIFs, and even emojis.
Increase followers
Creating educational content in the form of a slideshow helps attract new followers. The training you give to your audience using a Slideshow is more understandable and makes learning easier for them. Thus, it gives satisfaction to the visitors and the chance to go viral.
Easy to use
Creating a slideshow in TikTok is very easy and does not require special technical skills. Just select a few photos or videos and customize them with subtitles, music, and other effects, and you’ll have a slideshow in minutes.
Business introduction
Slideshows can be an effective and engaging way to introduce your products and services concisely and usefully. Using a series of images and text, you can highlight the key features and benefits of your offerings while also conveying your brand’s unique value proposition.
Making a Slideshow with TikTok and publishing it on other social networks
TikTok is a very powerful application for making slideshows. You can create Slideshows with this application and publish them on other social networks. To do this, just click on the Save option in the Slideshow creation section to save the Slideshow video file on your phone. Then, you can publish it on other social networks, such as Instagram.
Frequently Asked Questions
How many photos can I add to TikTok Slideshow?
You can add up to 35 photos or videos to slideshows created manually and not using a template.
If you use templates, the number of photos or videos can vary depending on the template. The maximum number of items is displayed when selecting a template.
What are the features of swipeable slides?
The images are displayed as separate slides, and the user can swipe between them. It is also only used to make a slideshow of several photos.
Can I make a slideshow using TikTok’s web version?
No, TikTok has not yet added this feature to its web version.
Can I select multiple videos and publish them as swipeable slides?
No, It is not possible.